Using images . . . .
Tuesday, February 17, 2015
Karen Turns 50!
As an extreme advanced beginner at many things, on my birthday I decided to go out and play in several of my favorite winter exploits. I lucked out with a rare on-demand powder day here at Mt Bachelor. Enjoy the fun!
Using images . . . .
Using images . . . .
Wednesday, October 12, 2011
Finished!
 |

The tables are finally finished! Solid construction makes them perfect for the middle school art classroom. I love their weight; they don't giggle, rock or shift.

The shelves create an area to store working folders and portfolios. During class students can place their binders on the shelf keeping the work surface clear.
Friday, September 30, 2011


Thursday, September 29, 2011
Art Tables: Attaching the Tops

Attaching the MDF tops was easy. I had already cut the MDF to size, rounded over the edges with the router, and put multiple layers of polyurethane coating on both the top and underside.
 I moved the upside down tops onto 6 stools each and hoisted the frames onto them. Centering, drilling and screwing down the frames went quickly. Unfortunately I did it late Sunday afternoon. There were many hours still left to assemble the tables completely. I had hoped to have the tables ready for class monday morning, but as it turned out, we used them without the lower shelves for the first few days.
The school drills lacked power, so the "high torque" made it possible to actually drive the screw with a pilot hole.
Wednesday, September 28, 2011
Art Tables: The Shelves

I finally decided to use expanded metal as the shelf material. I like the industrial feel, and that the edges won't get wrecked by student's feet. I tack welded each wire end beneath the angle stock then added 2 braces about 24" apart.
 It took 2 trips in my small pickup to transport the frames to school.
Tuesday, September 27, 2011
Art Tables: Building the legs

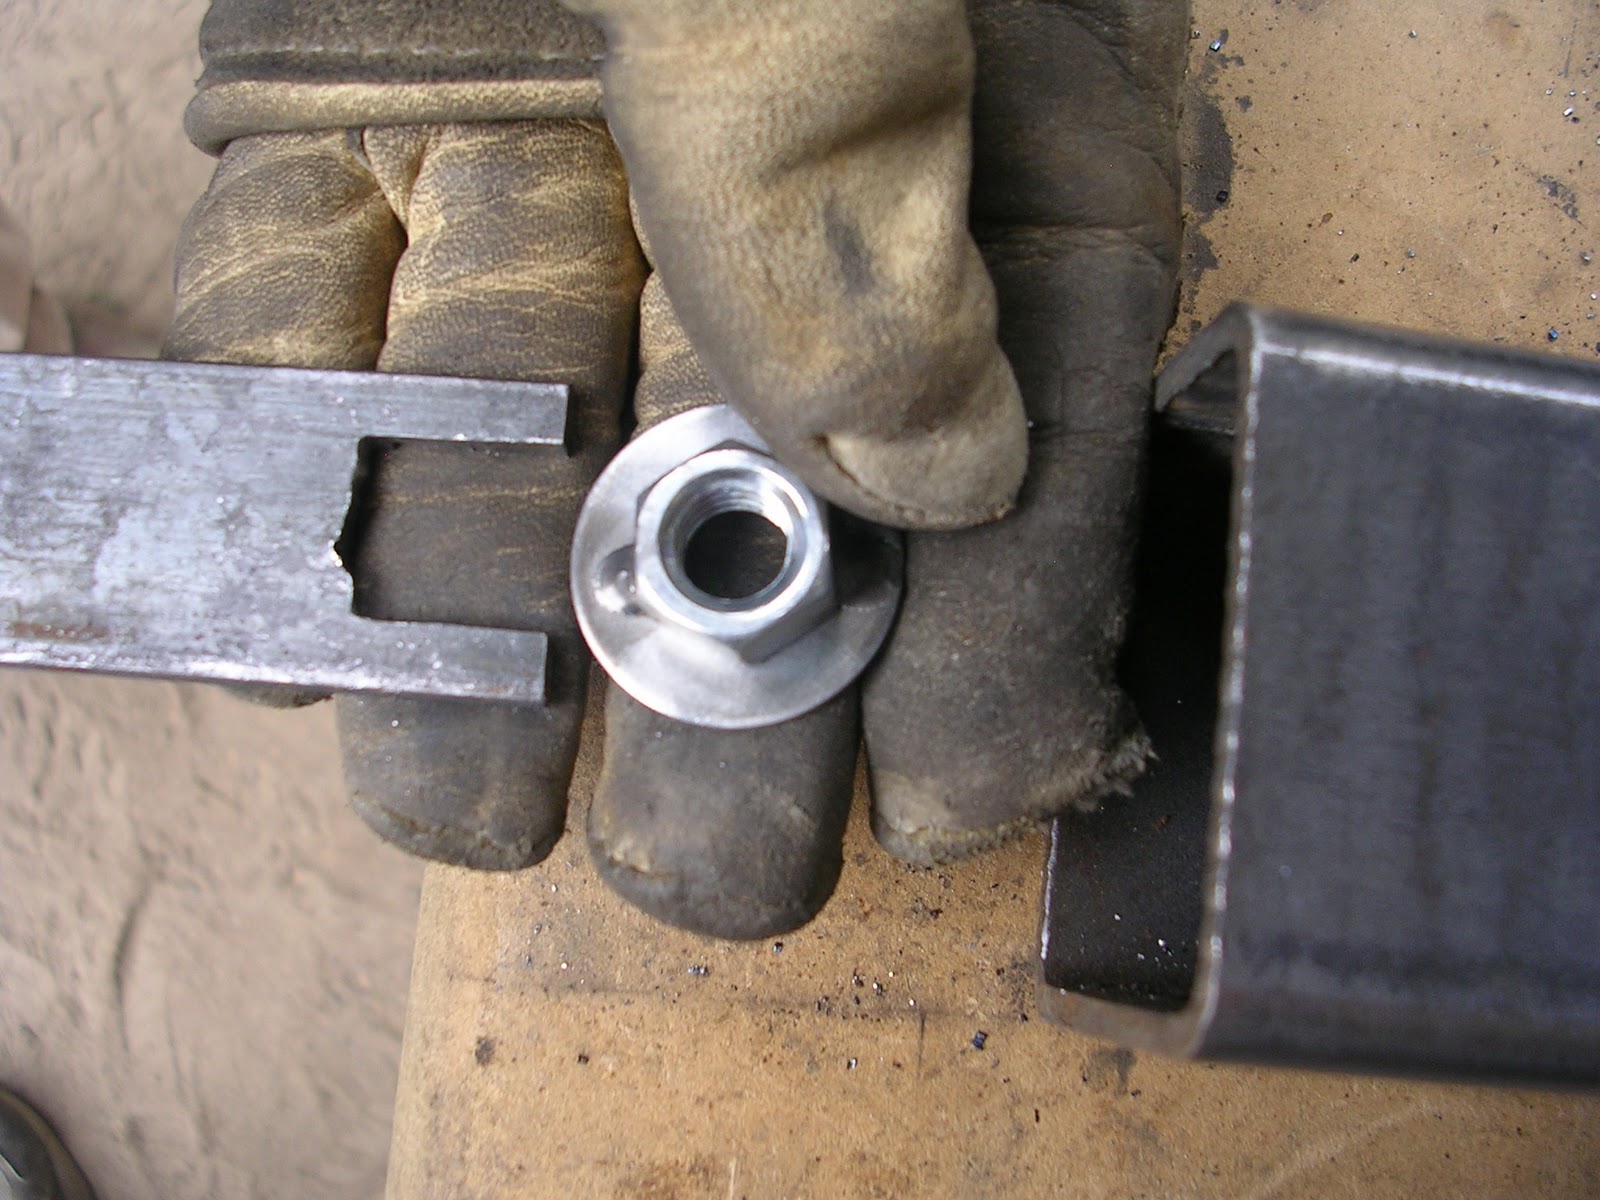 After drilling the over sized holes, I cut notches on opposite sides to accommodate welding the nut/washer units to the inside of the leg. I made a "wrench" out of 1" bar stock that would reach the distance to the shelf hole.
 Holding the nut/washer in place, I was able to use the bridge fixture I welded from 3/4" bar stock to draw the washer flush to the inside of the leg. Centering and tightening the bolt, enabled the nut/washer to stay securely in place while I tack welded the parts together. It took some experimenting with the heat and the technique in order to find the balance of penetration without melting the washer.
 Once I got the hang of it and got over the stress of if the process would work or not, it went quickly.
Sunday, September 25, 2011
Art Tables: Tack Welding Nuts & Washers

One of hardest processes to get right was tack welding the nuts to the washers. They had to be centered; the perfect heat was essential; and holding them flat while welding the second side took some experimentation. In the end I only wrecked 5 out of 64.
Subscribe to:
Posts (Atom)